
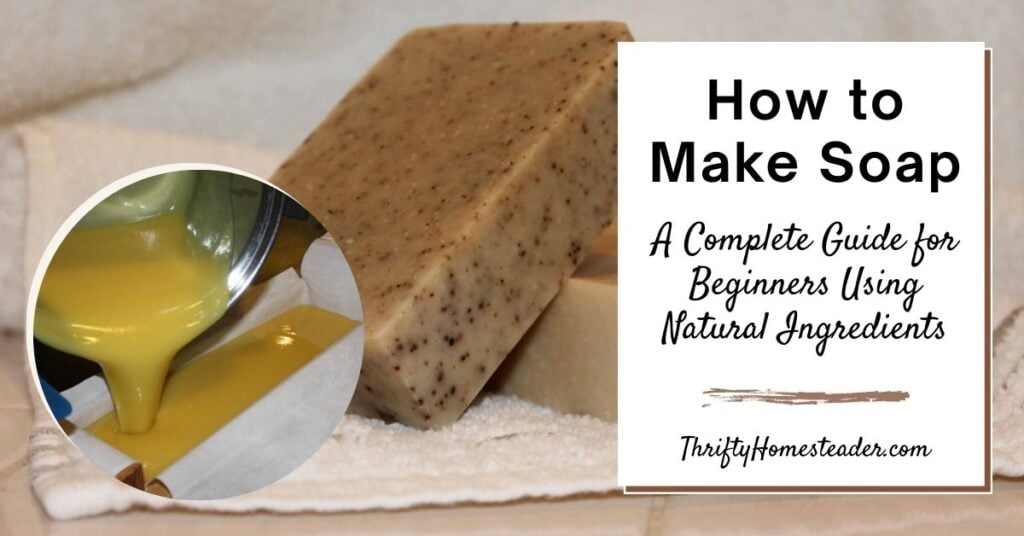
Have you ever picked up a bar of store-bought soap, read the ingredients, and wondered what half of them even are? If you’re trying to avoid synthetic fragrances, preservatives, or harsh detergents—or if you’re simply looking to save money and create something useful—making your own soap is a fun, rewarding project.
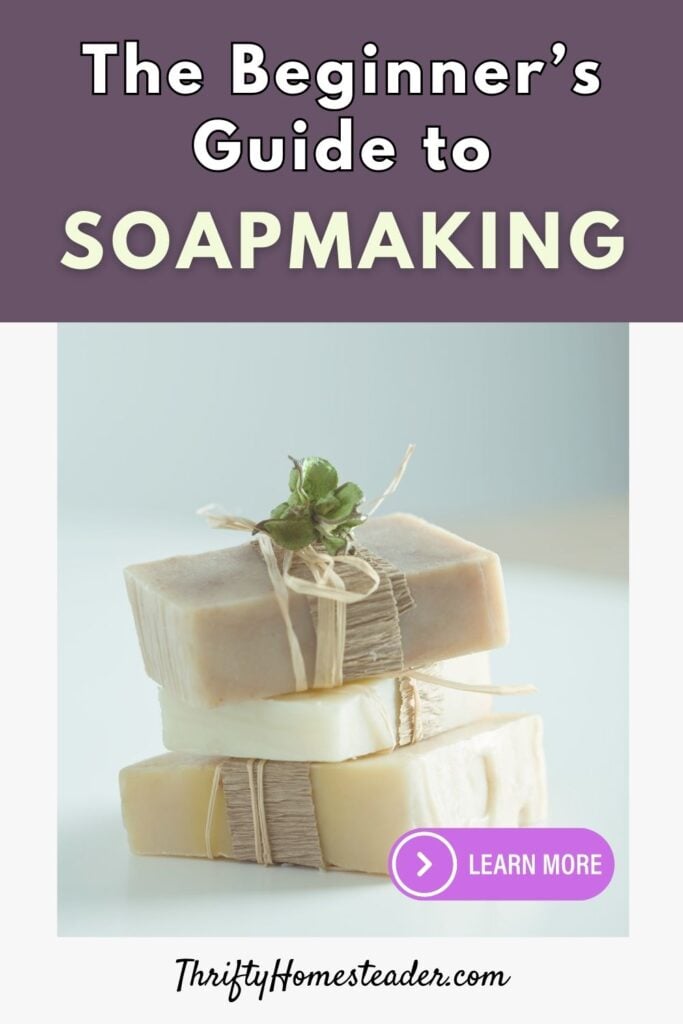
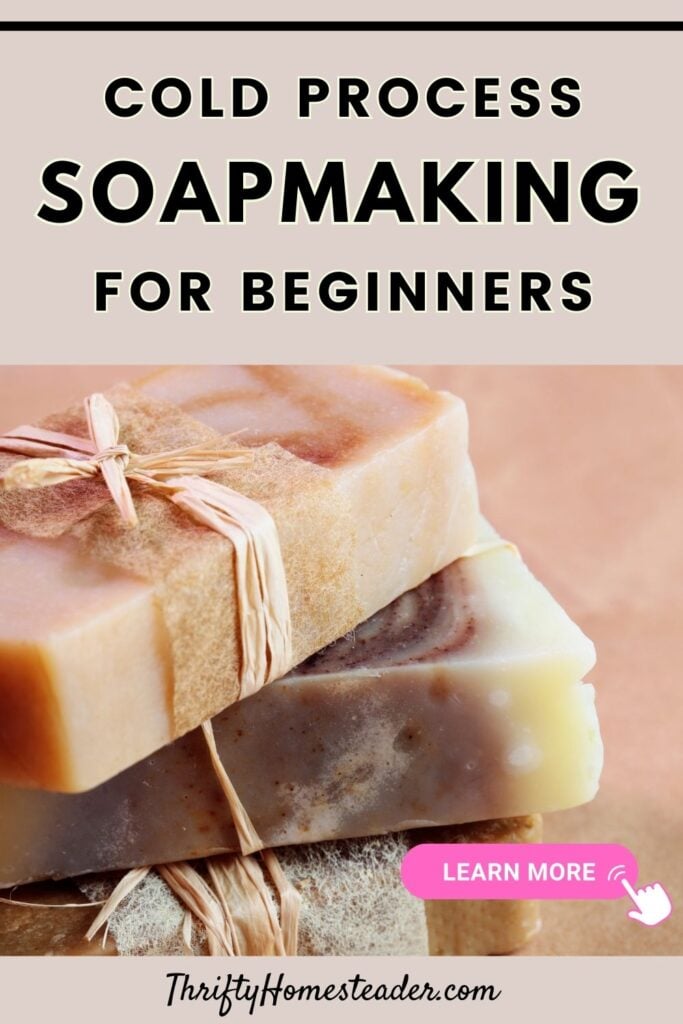
In this guide, I’ll walk you through exactly how to make soap using the cold process method, which is the most common way to create natural, homemade soap from scratch. Whether you want to control ingredients for sensitive skin or just enjoy a hands-on homesteading skill, this guide is for you.
Understanding the Basics of Soap Making
At its core, soap is the result of a chemical reaction between oils or fats and a strong alkali. This process is called saponification. The alkali used to make bar soap is sodium hydroxide, also known as lye. Despite its scary reputation, lye is essential to true soap making—and with proper precautions, it’s perfectly safe to work with.
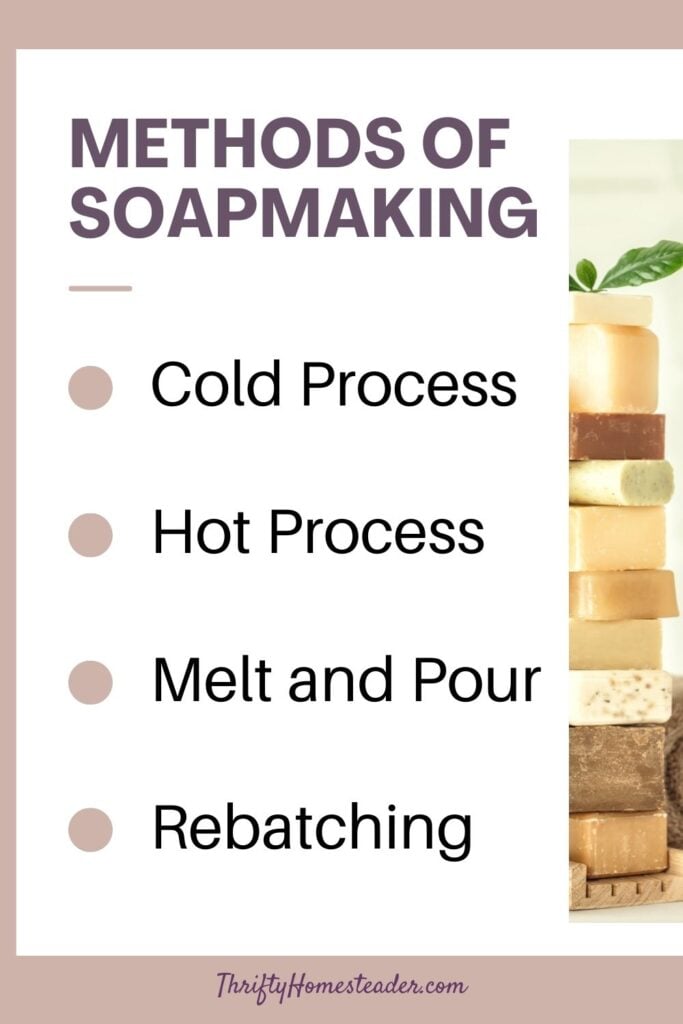
There are a few methods of making soap:
- Cold process: the most popular for homesteaders, allowing full control over ingredients.
- Hot process: similar but speeds up saponification by using heat.
- Melt and pour: not technically making soap, but it is great for beginners; uses a pre-made base that doesn’t require handling lye.
- Rebatching: remelting finished soap to add ingredients like color or scent or to correct mistakes.
This guide focuses on the cold process method because it takes the least time and uses basic, affordable ingredients.
Soap Making Safety
Let’s talk safety before we get to the fun part. Lye is caustic and can burn skin or damage surfaces if mishandled. However, it’s very manageable if you follow these safety tips:
- Always wear gloves, goggles, and long sleeves.
- Work in a well-ventilated area.
- Add lye to water, never the other way around (adding water to lye can cause a volcanic reaction).
- Keep kids and pets away from your workspace.
Store your lye out of reach of children and clearly labeled.
Ingredients for Soap Making
Basic ingredients:
- Lye (Sodium Hydroxide): Required for saponification.
- Fats or oils: Common choices include olive oil, coconut oil, lard, or tallow.
- Liquid: Usually distilled water, but goat milk, tea, or herbal infusions can be used.
Optional additives:
- Essential oils: For scent (lavender, peppermint, eucalyptus, etc.)
- Natural colorants: Activated charcoal, turmeric, spirulina, or clay.
- Exfoliants: Ground oats, dried herbs, poppy seeds.
Keep it simple at first by using only the basic ingredients — too many ingredients can overwhelm a beginner batch. Once you have the process down solid, you can start adding colors, exfoliants, and scents.
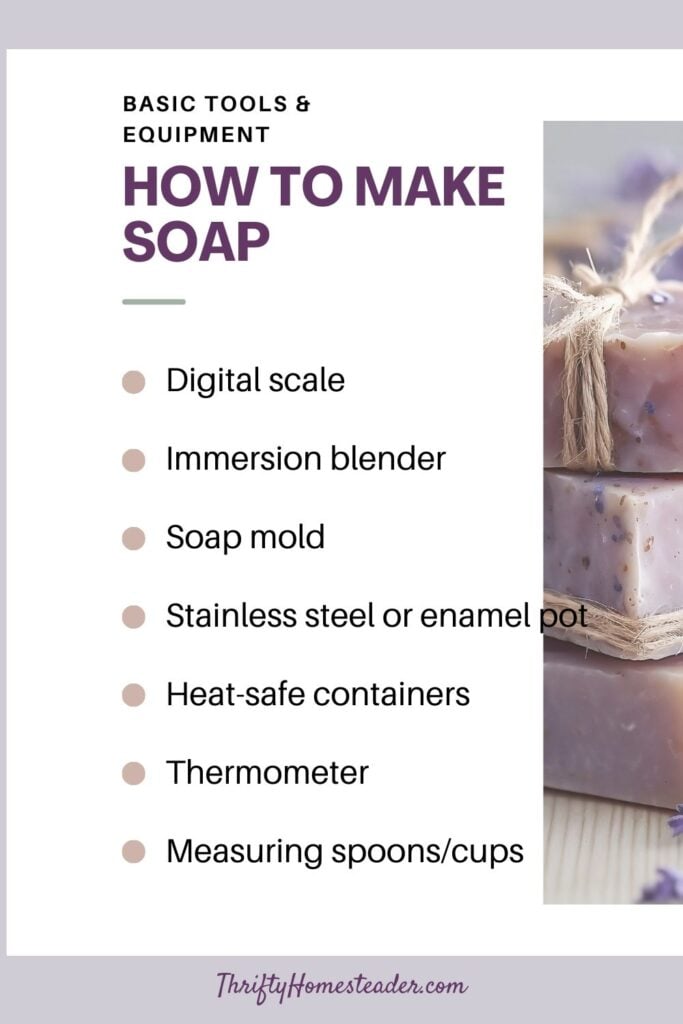
Tools and Equipment
You’ll need a few basic tools:
- Digital scale (for precise measurements)
- Immersion blender (to reach trace faster)
- Soap mold (silicone is popular and easy to clean, but I have been using wooden molds lined with freezer paper forever)
- Stainless steel or enamel pot — NOT aluminum
- Heat-safe containers for mixing lye solution (HDPE, glass, or stainless steel — my favorite is an 8-cup glass measuring cup)
- Thermometer (needs to read 100 to 120 degrees)
- Measuring spoons/cups
Avoid using aluminum for anything that touches the mixture — lye reacts with it.
How to Make Cold Process Soap
Step 1: Prepare Your Workspace
Lay out all your supplies. Cover your work surface with newspaper or parchment. Put on gloves and goggles.
Step 2: Make the Lye Solution
Using a digital scale, measure the correct amount of lye and distilled water in separate containers. Fill your kitchen sink or a large bowl with ice water, and place the container you’ll be using to mix the lye solution into the ice bath—this will help it cool down more quickly and safely.
Slowly sprinkle the lye into the water (never pour water into lye), stirring gently with a heat-safe spoon or spatula. The mixture will heat up rapidly and release strong fumes for about 30 seconds—keep your face back and avoid inhaling directly.
Once mixed, continue to let the lye solution sit in the ice bath or set it aside in a safe spot to cool to around 100–120°F, which is the ideal temperature range for combining it with oils.
Note: Never use aluminum containers for lye. (Yes, we know we’ve said this before, but we want to be sure you heard us!)
Step 3: Heat the Oils
Weigh and combine your oils in a pot. I put all of my solid oils into the pot and melt first, then I add the liquid oils, which usually brings the temperature very close to the 100–120°F that I want. If the temperature is outside that range, let the oils cool to 100–120°F.
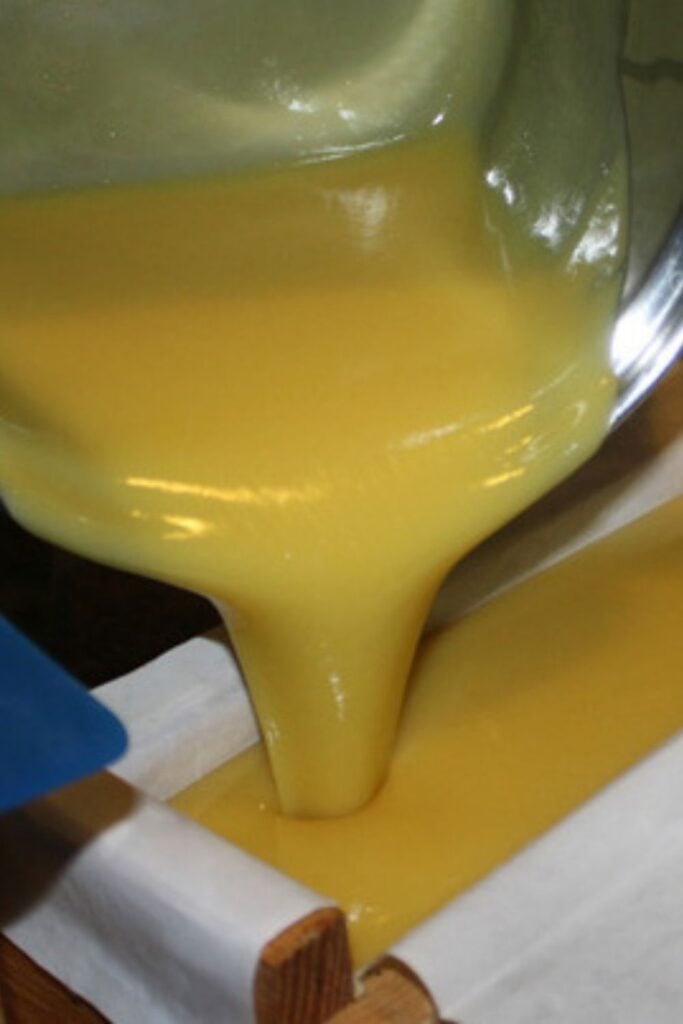
Step 4: Mix Lye and Oils
When both mixtures are within the temperature range, slowly pour the lye solution into the oils. Use your immersion blender on the low setting until the mixture thickens to the texture of pudding. This stage is called trace—it’s when the oils and lye have emulsified and begun the saponification process.
Step 5: Add Fragrance and Extras
This is an advanced skill that should not be attempted until you have learned the basic process.
Once trace is reached, stir in your essential oils, colorants, or herbs. Work quickly—some additives can accelerate trace and cause a batch to seize, which means it almost instantly turns into mashed potatoes and is impossible to pour into the mold.
Synthetic fragrance oils are the worst offenders, but cinnamon and wintergreen essential oils can also do this when used in larger amounts.
Step 6: Pour into Mold
Pour the soap batter into your mold. Cover with a lid or parchment paper.
Step 7: Let It Set
Leave the soap undisturbed for 24–48 hours. After that, it should be firm enough to unmold.
Step 8: Dry the Soap
Cut your soap into bars and place them on a rack to dry in a well-ventilated room for 4 weeks. This allows excess water to evaporate and the soap to harden, which means it will last longer.
Common Mistakes Beginners Make
- Using volume instead of weight: Always measure by weight—it’s more accurate.
- Not wearing safety gear: Lye burns are preventable.
- Adding water to lye: This causes a dangerous chemical reaction.
- Using aluminum: Lye corrodes it and can release toxic gas.
Can You Make Soap Without Lye?
Technically, no. All true soap is made using lye. Melt and pour bases are pre-saponified, meaning the lye has already reacted and is no longer caustic. In other words, someone already made the soap using lye, so it’s already saponified.
You can melt the base, add your own scents and colorants, pour it into molds, and let it harden. It’s a simple way to ease into soap making without handling lye directly.
Is It Cheaper to Make Your Own Soap?
Initially, it may seem expensive to buy lye, oils, molds, and a stick blender. But those tools are reusable, and you’ll be able to make dozens of bars for just pennies each. Compare that to $5–$8 per bar for handmade soap at the farmers market or online! Plus, you can tailor the recipe to your preferences and avoid ingredients you may want to steer clear of.
Storing and Using Homemade Soap
Once cured, store your soap in a cool, dry place with good air circulation. Avoid plastic bags or airtight containers, which can trap moisture and cause soft spots or sweating. Properly cured soap lasts for a year or more, especially if made with fresh oils.
Final Thoughts
Soap making is a skill that blends science, art, and practicality—perfect for any homesteader. Once you get the hang of it, you can start experimenting with different oils, essential oils, textures, and molds. Whether you’re avoiding irritants in commercial soap or just want a more sustainable option, making your own bars is a satisfying step toward self-sufficiency.
Want to try your first batch?
Sign up below to download a printer-friendly copy of these step-by-step instructions, plus my favorite simple soap recipe that’s perfect for beginners using natural ingredients.
Related Resources
- 3 Surprising Facts About Soap
- Why I’m still making soap after all these years
- Thoughts on Soapmaking
- Pure Soapmaking Book Review
Pin for later!


I paid for your soap making course several years ago. I know that you switched the site the course was on. Life was crazy I and I forgot to log into the new site. Could you send me that information again please? I hope this makes sense.
Hi Elizabeth, thanks for reaching out!
I sent the login information to your email and saw that you’ve already joined us on the new platform—so glad to have you there! If you have any trouble accessing the course or need help navigating the new site, feel free to reach out anytime.
~Aimey, Thrifty Homesteader Team
Please send me a printable, easy to follow, step-by-step guide to making soap.
Thank you,
Chris
Hi Chris,
Thanks for your comment!
We have a free, printable, step-by-step guide to making soap available here:
https://thrifty-homesteader.kit.com/how-to-make-soap
Once you sign up, you’ll receive the full instructions directly in your inbox.
Happy soapmaking!
— Aimey